Getting started
Welcome to Flows for APEX!
Flows for APEX is a BPMN-based business process modeling tool and workflow engine built with, and for, the Oracle APEX low code development platform.
This section of the site contains:
- An introductory Get Started Tutorial
- A basic tutorial showing you how to connect Flows for APEX into your APEX application
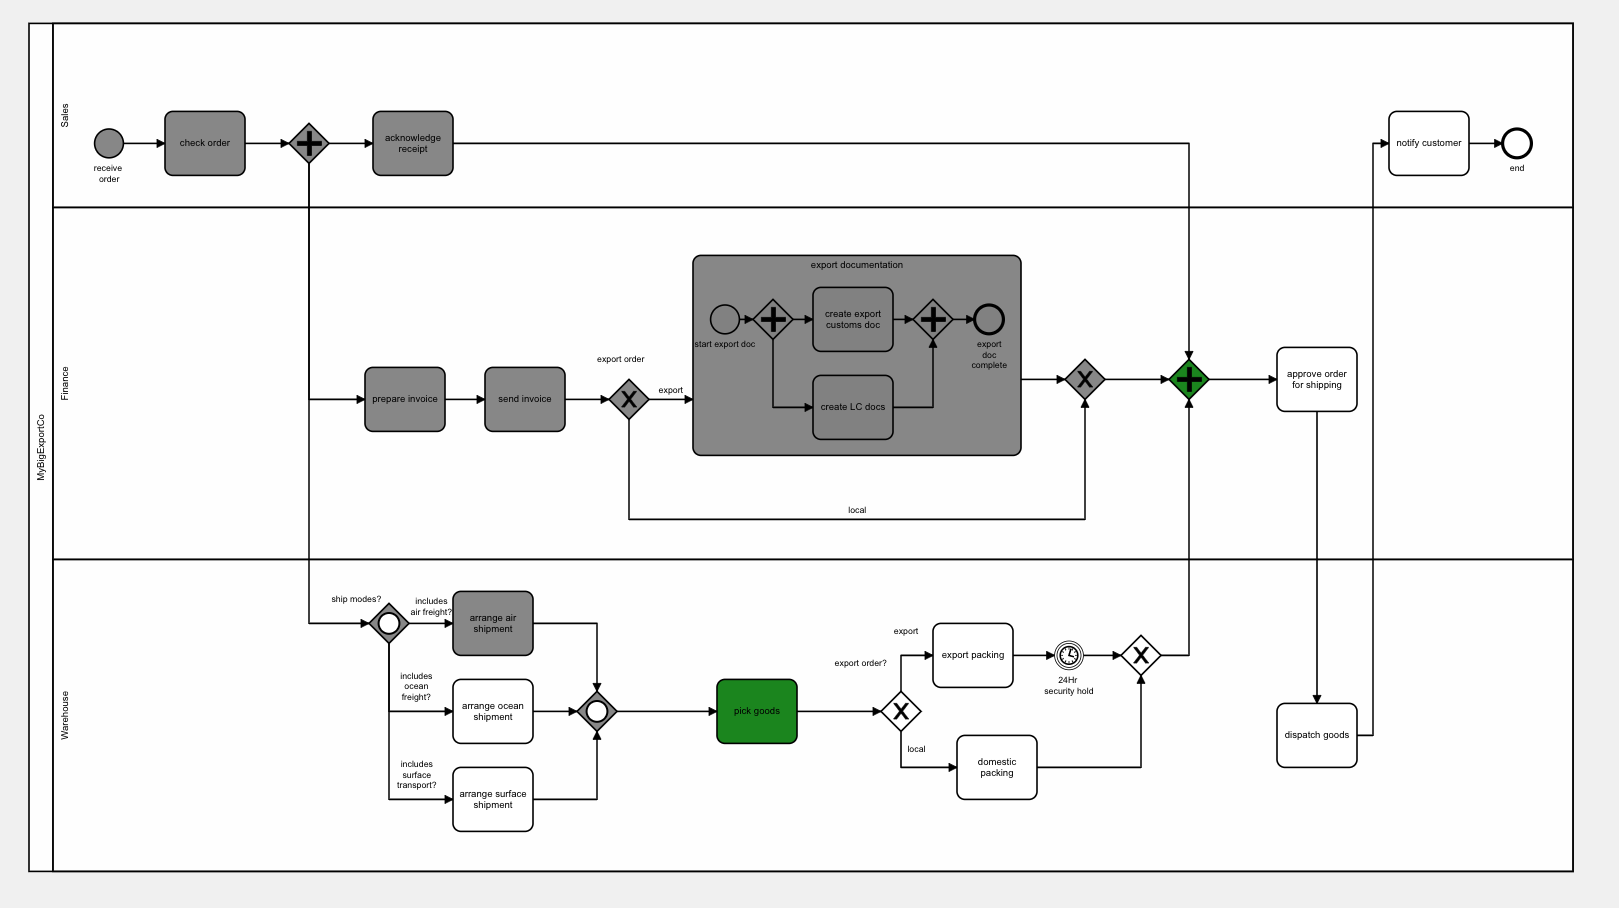
- A BPMN tutorial series - around 25 BPMN diagrams that teach you how to build process models for Flows for APEX
- Product Concepts documentation
- Product features documentation.
Flows for APEX enables every APEX developer to create and run process flows for their APEX apps. Have a look yourself what Flows for APEX can do for you!
Installation of Flows for APEX
Download the latest version of the Flows for APEX packaged app from our release area on GitHub and import it into your APEX workspace. You can find more information about the installation process here
First steps with the engine app
Create your first model
- Log into the Flows for APEX application, open the menu and go to “Flow Management”.
- Click on the “Create Model” button.
- Complete the form with the following information
- Category: “Tutorial”
- Name: “Getting Started”
- Version: “0”

- Click on the “Create” button
Edit your first BPMN diagram
- Click on the “Modify Diagram” button in the Flow Viewer region header to open the Flow Modeler
- On the toolbar, click on the Start Event, drag it in the blank area then double click on the event and type “Start” in the text area.

- Select the start event, click on “Append Task” and type “First Task”

- Select the Task, click on “Append EndEvent”, then double click on the End Event and type “End”

- Click on Apply Changes to save the diagram.
Create your first process instance
- Open the menu and go to Flow Monitor
- Click on “Create instance”
- Fill the form as it
- Model: “Getting Started”
- “Name”: “First Instance”

- Click on “Create”
Start your first process instance
- On the Flow Instances report, click on the row menu action of your instance and select start

- You can now see that the process instance is started

- Go to the instance details page by using the row menu action or by clicking on the quick action “Details”.
Complete your first task
- On the Subflows report, you can see the current running subflows. You can complete the step by using either the row action menu or the quick action link.

- After completing the step, the process instance is now completed.

Integration into an APEX application
Create a new APEX application
Create a new APEX application and call it Getting Started
Import the plug-ins
- Go to Shared Components –> Plug-ins and click on Create
- Choose the option “As a Copy of an Existing Plug-in” and click on Next
- Select the Flows for APEX application and click Next
- Import all the plug-ins except “Flows for APEX - Modeler” by clicking on Copy Plug-ins
Use the Manage Flow Instance plug-in
- On page 1, create a new region:
- Identification:
- Title: My Tasks
- Type: Static Content (default)
- Layout:
- Position: Content Body
- Identification:
- Add a new button on the same page:
- Identification
- Button Name: CREATE_INSTANCE
- Label: Create Instance
- Layout:
- Region: My Tasks
- Button Position: Edit
- Identification

- Add a new process on the same page:
- Identification:
- Name: Create and Start Instance
- Type: Flows for APEX - Manage Flow Instance [Plug-in]
- Settings:
- Action: Create and Start (default)
- Flow Instance Name: Getting Started - &APP_USER.
- Select Flow Using: Static Text (default)
- Flow (Diagram) selection based on: Name (default)
- Set Business Reference: none (default)
- Return Instance ID into: none (default)
- Set Process Variables?: No Process Variables (default)
- Server-side Condition:
- When Button Pressed: CREATE_INSTANCE
- Identification:

Now, run your application and click on the Create Instance button. Nothing happens? Are you sure? Go on the engine app and open the Flow Monitor page. As you see, we just create a new instance and if you click on the Name you will see that it is also running.

That’s cool but you didn’t see anything on your custom application so lets see if we can fix that.
Display the tasks
Flows for APEX comes with several views to help you to integrate it into your application, one of them is the flow_task_inbox_vw view.
- Update the region “My Tasks”:
- Identification:
- Type: Classic Report
- Source
- Location: Local Database
- Type: SQL Query
- SQL Query
select sbfl_id,
      sbfl_prcs_id,
      sbfl_process_name,
      sbfl_prcs_init_ts,
      sbfl_current_name,
      sbfl_status,
      sbfl_step_key
from flow_task_inbox_vw
where sbfl_dgrm_name = 'Getting Started'
- Identification:
Save and run the page and you should now see the list of tasks that need to be completed!

Display the workflow viewer
One major advantage of Flows for APEX is the ability to see the workflow state graphically and we provide a plug-in and a view to make it easier.
- Create a new plug-in page

- Select “Flows for APEX - Viewer” and click on Next

- Set the Page Name to “Workflow Viewer”, make sure the selected Page Mode is “Modal Dialog” and click on Next

- Choose the “Do not associate this page with a navigation menu entry” and click on Next
- Select the view flow_instance_details_vw and click on Next

- Change the attributes Add Highlighting to Yes (see screenshot) and click on Create

- Add an APEX page item on the Viewer region:
- Identification:
- Name: P2_PRCS_ID
- Type: Hidden
- Identification:

- Select the region Workflow Viewer and under Source/Where Clause add:
prcs_id = :P2_PRCS_ID

- Edit the page 1, on the “My Tasks” Region make the following changes:
- Column SBFL_ID
- Identification:
- Type: Hidden Column
- Identification:
- Column SBFL_PRCS_ID
- Identification:
- Type: Link
- Heading:
- Heading: “-“
- Link:
- Target:

- Link Text:
<span class="fa fa-search" aria-hidden="true"></span>
- Target:
- Identification:
- Column SBFL_PROCESS_NAME
- Heading:
- Heading: Instance Name
- Heading:
- Column SBFL_PRCS_INIT_TS
- Heading:
- Heading: Init Date
- Heading:
- Column SBFL_CURRENT_NAME
- Heading:
- Heading: Current Task
- Heading:
- Column SBFL_STATUS
- Heading:
- Heading: Status
- Heading:
- Column SBFL_ID
Save and Run the page, you should now be able to click on the link and see your instance state in the Viewer!

Now it’s time to complete that task from your custom application.
Use the Manage Flow Instance Step plug-in
- Create a new blank modal page called “Task” without entry in the menu. Page ID should be 3.
- On the new page, create a new region “Task” in the Content Body and add three items:
- P3_PRCS_ID type Hidden
- P3_SBFL_ID type Hidden
- P3_STEP_KEY type Hidden
- Add a new button COMPLETE
- Add a first process
- Settings
- Name: Complete Task
- Type: Flows for APEX - Manage Flows Instance Step [Plug-in]
- Action: Complete Step
- Flow Instance info: In Page Items (default)
- Process ID item: P3_PRCS_ID
- Subflow ID item: P3_SBFL_ID
- Step Key item: P3_STEP_KEY
- Set Gateway Routing?: false (default)
- Auto-Branching?: false (default)
- Return Flow Instance and Subflow ID?: none (default)
- Server Side Condition:
- When Button Pressed: COMPLETE
- Settings
- Add a second process
- Settings
- Name: Close Dialog
- Type: Close Dialog
- Server Side Condition:
- When Button Pressed: COMPLETE
- Settings
- Edit page 1 and, on region “My Tasks”, update column SBFL_ID:
- Identification:
- Type: Link
- Link
- Target: ![Getting Started Integration Step 13]/assets/images/getting-started-23.png “Getting Started Integration Step 13”){: .align-center}
- Link Text:
<span class="fa fa-edit" aria-hidden="true"></span>
- Identification:
- Add a new Dynamic Action:
- Identification:
- Name: Edit Step Close
- When
- Event: Dialog Closed
- Selection Type: Region
- Region: My Tasks
- Execution:
- Event Scope: Dynamic
- Identification:
- Action when True:
- Identification:
- Action: Refresh
- Affected Elements:
- Selection Type: Region
- Region: My Tasks
- Identification:
Save and Run page 1, you should now see a new link, click on it, a new modal page should open and have a complete button. Click on that button and your task will be completed. You can check on the engine app that your instance is correctly completed.

Going further
Congratulations, you have just complete our getting started tutorial and learn the basics of the following concepts:
- Create a new model
- Edit a BPMN diagram in the online editor
- Create and start a process instance
- Complete a step in the instance detail page
- Integrate Flows for APEX in a custom application with the plug-ins
To go further, we recommend you to follow our BPMN tutorials or download our step by step APEX integration tutorial.