Installing Version 26.1
Flows for APEX v26.1 Installation Guide
You have a choice of two installation approaches for a new installation of Flows for APEX..
- The simplest, for most new installations, is to install Flows for APEX as a packaged APEX installation. Download the packaged application and import it into APEX. instructions
- Alternatively, you can install from source code using SQLcl if you have SQL*Net access to the database server hosting APEX. instructions
If Flows for APEX is currently installed, you need to follow the instructions for migration instead.
Prerequisites
Before installing, ensure that your database schema has been granted the following system privileges:
- CREATE TABLE
- CREATE VIEW
- CREATE PROCEDURE
- CREATE SEQUENCE
- CREATE TYPE
- CREATE JOB
In addition, users of the Flows for APEX Enterprise Edition require
- AQ_ADMINISTRATOR role
- AQ_USER role
- execute privilege on SYS.DBMS_AQ package
New Installation with the packaged application
Note: These instructions are only for a fresh installation into an APEX workspace. If you are upgrading an existing Flows for APEX installation, see the migration page
Note: Installing on oracleapex.com. Due to resource limits in place on oracleapex.com, it is not currently possible to install Flows for APEX v26.1 on oracleapex.com (even the English-language only version). To create a test environment, you can can either install v25.1 on oracleapex.com or install Flows for APEX v26.1 on an OCI (including Always Free) or any local/on-prem database.
-
Download the latest version of the packaged app here.
The release area contains two versions of the packaged app.
- English Only. Contains only the English language support.
- All Languages. Contains all translated languages (English, French, German, Spanish, Italian, Portuguese(BR), Japanese, Korean, Simplified and Traditional Chinese).
-
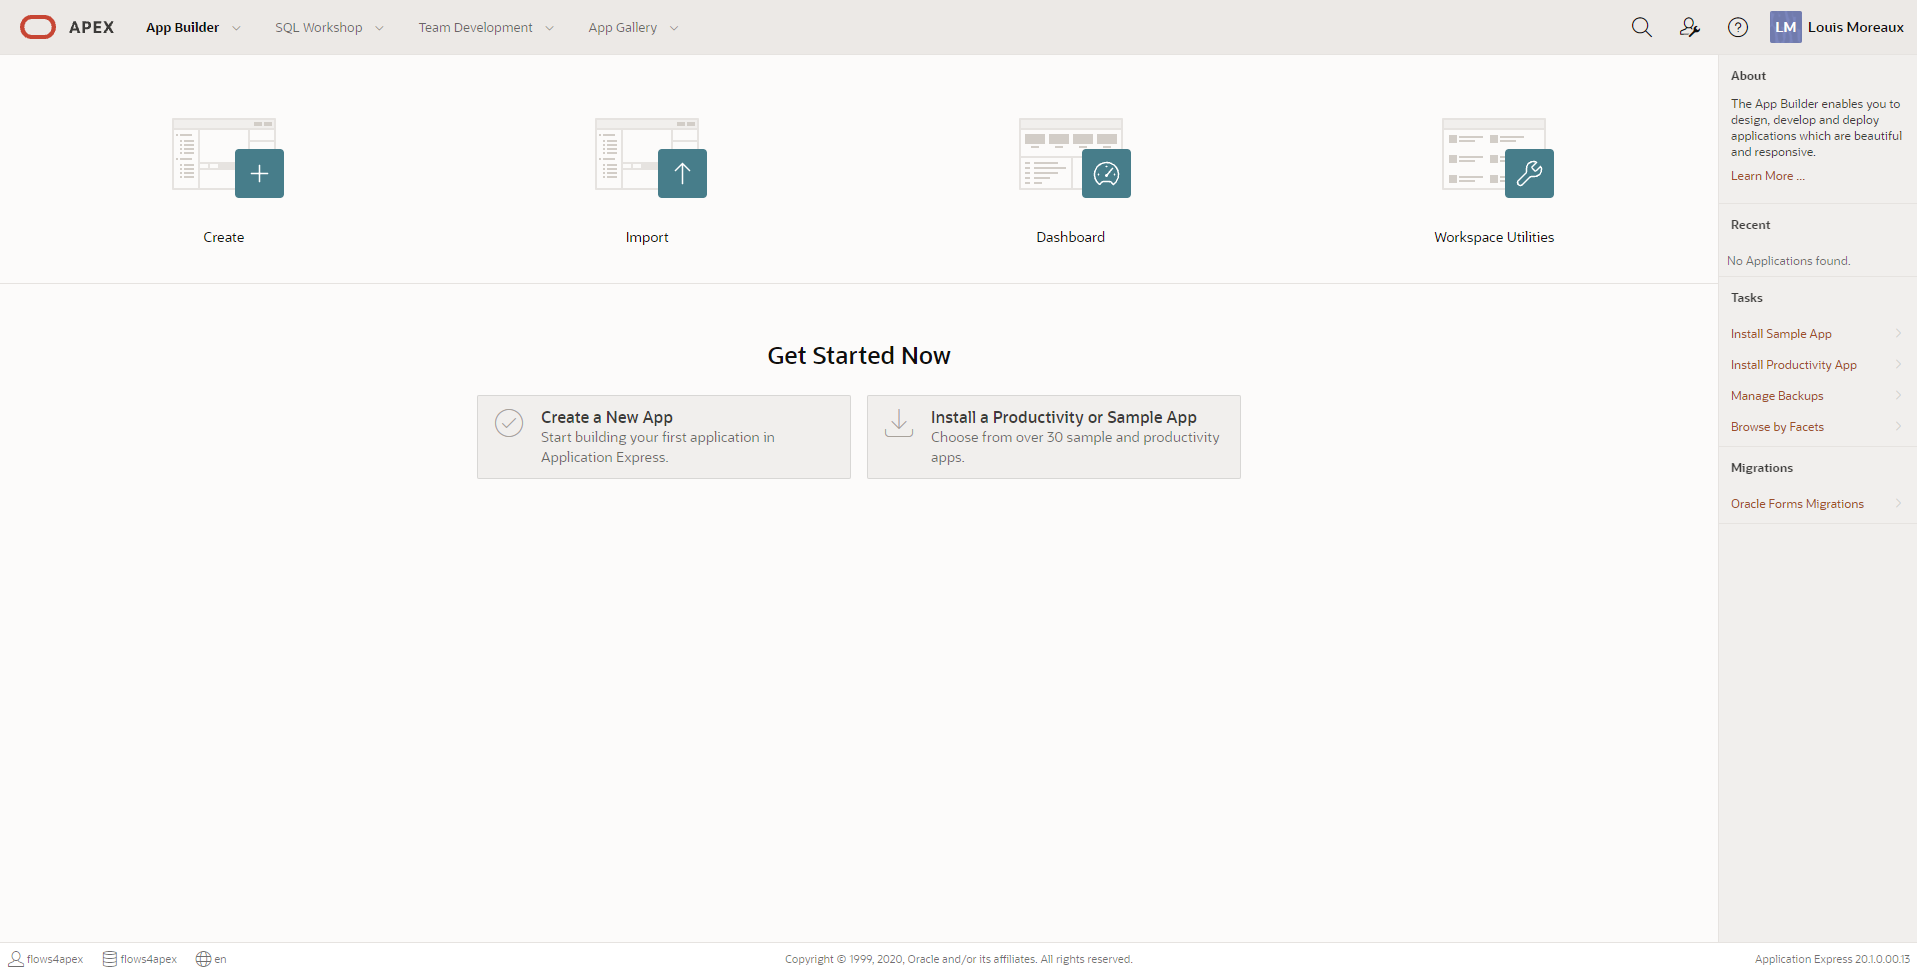
Log in into your Oracle APEX workspace and click on the “Import” cards.
-
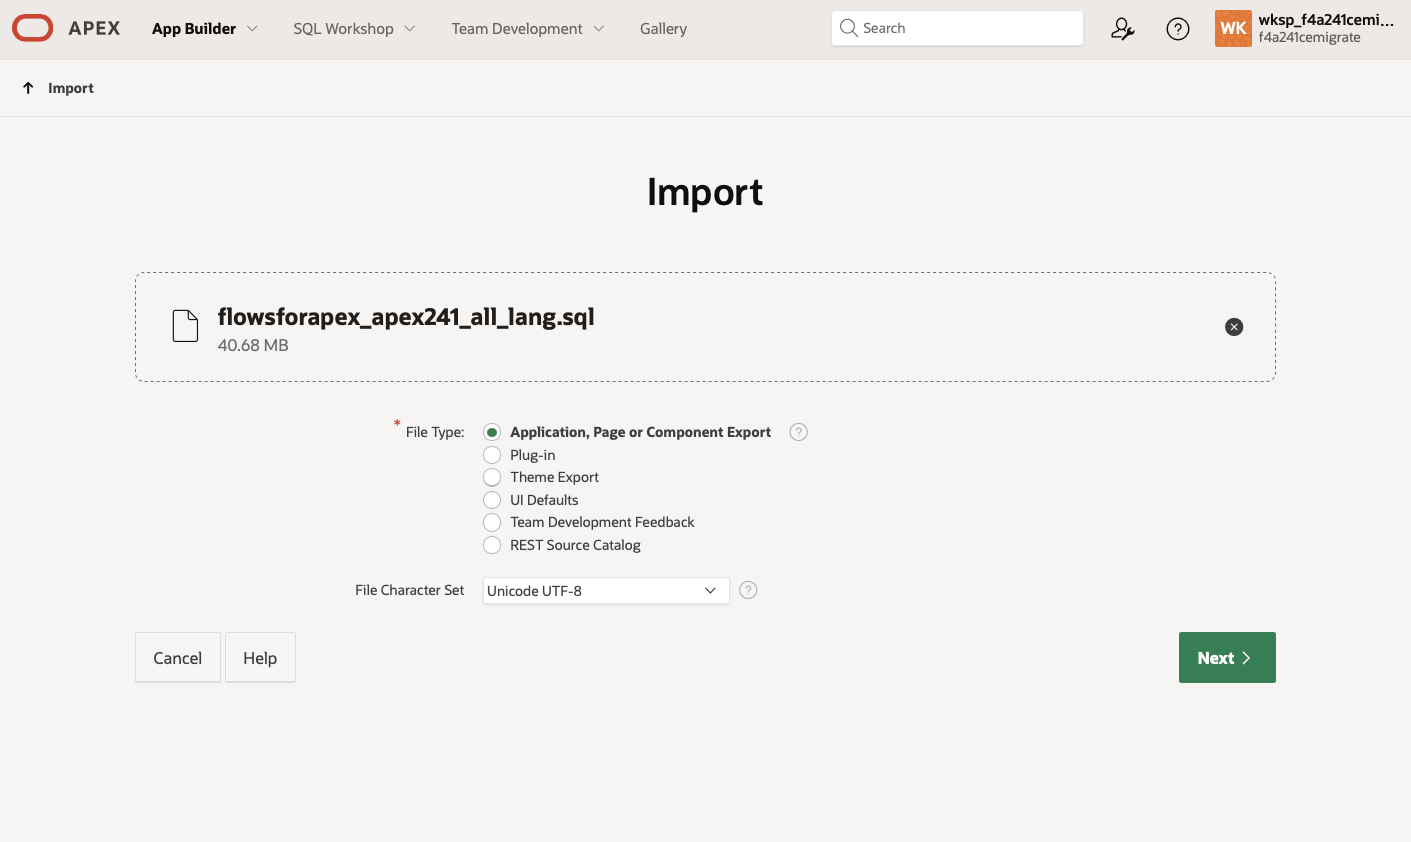
On the import page, choose the previously downloaded SQL file, make sure that the option “Database Application, Page or Component Export” is selected and click on the “Next” button. A new page should confirm that the file have been correctly imported. Click on the “Next” button.
-
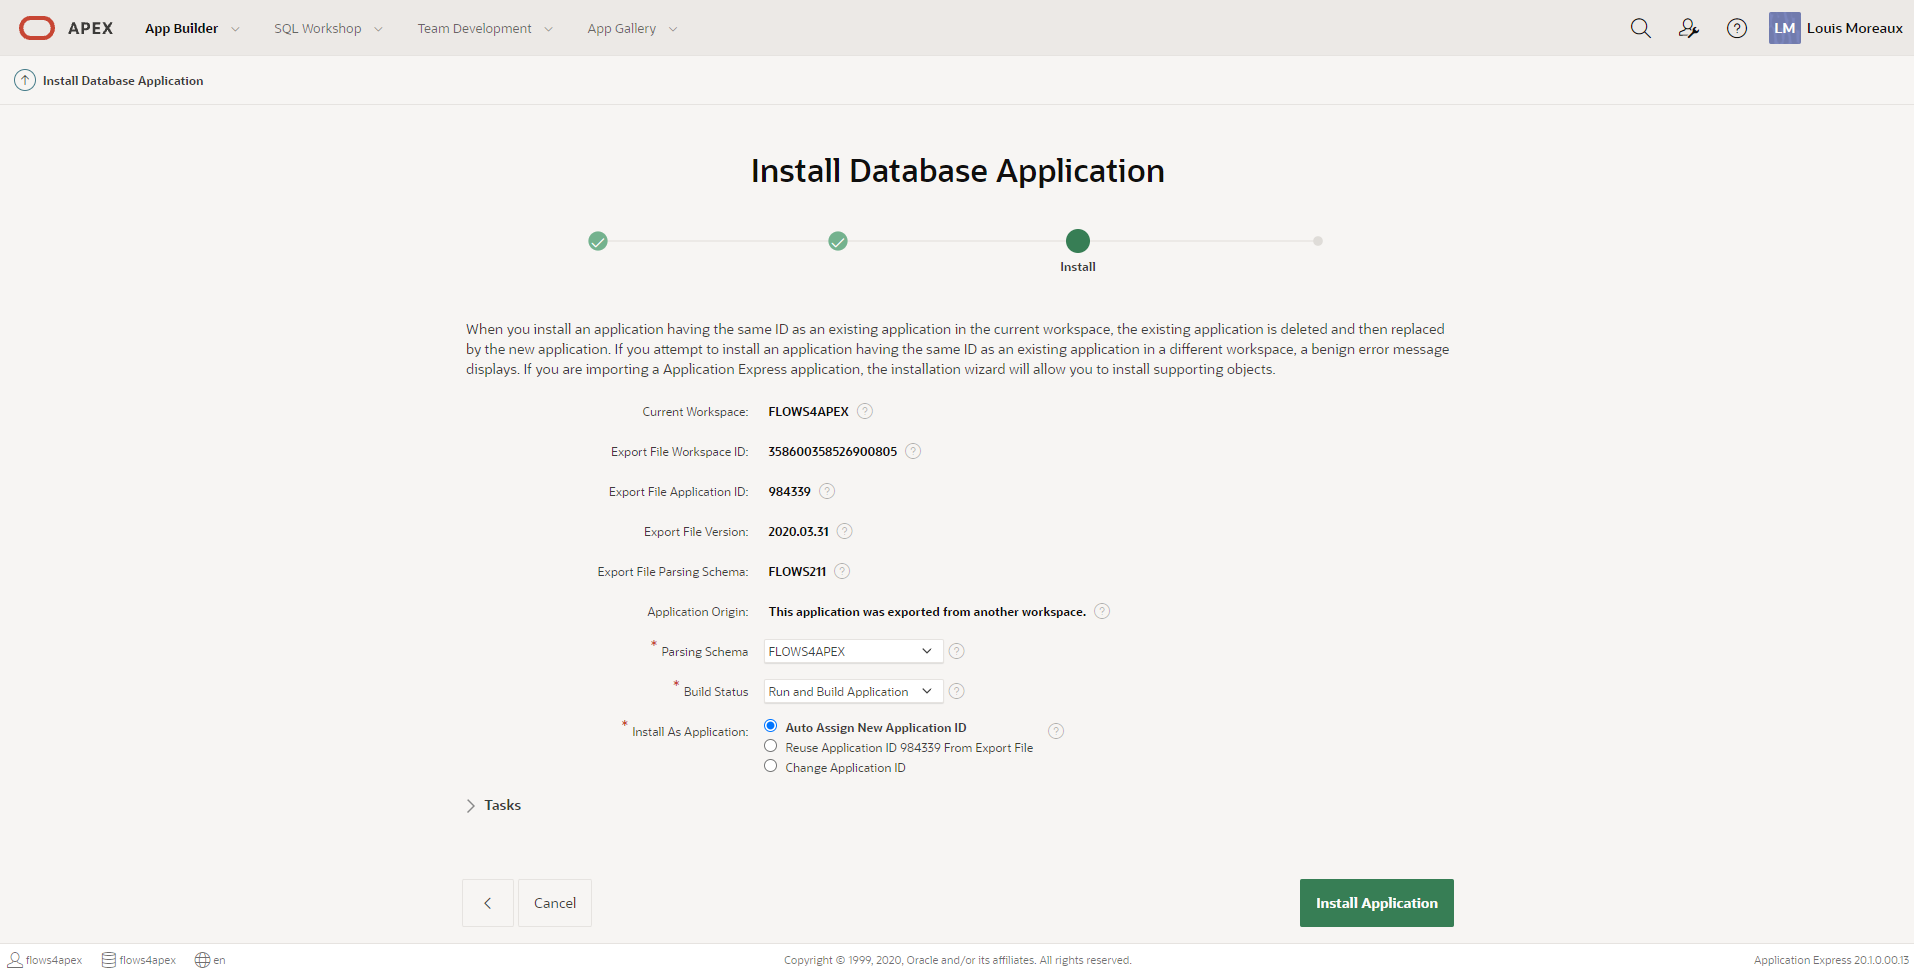
The next wizard page is a summary of the installation that will be done. Make sure the selected options are correct and click on “Install Application”.
-
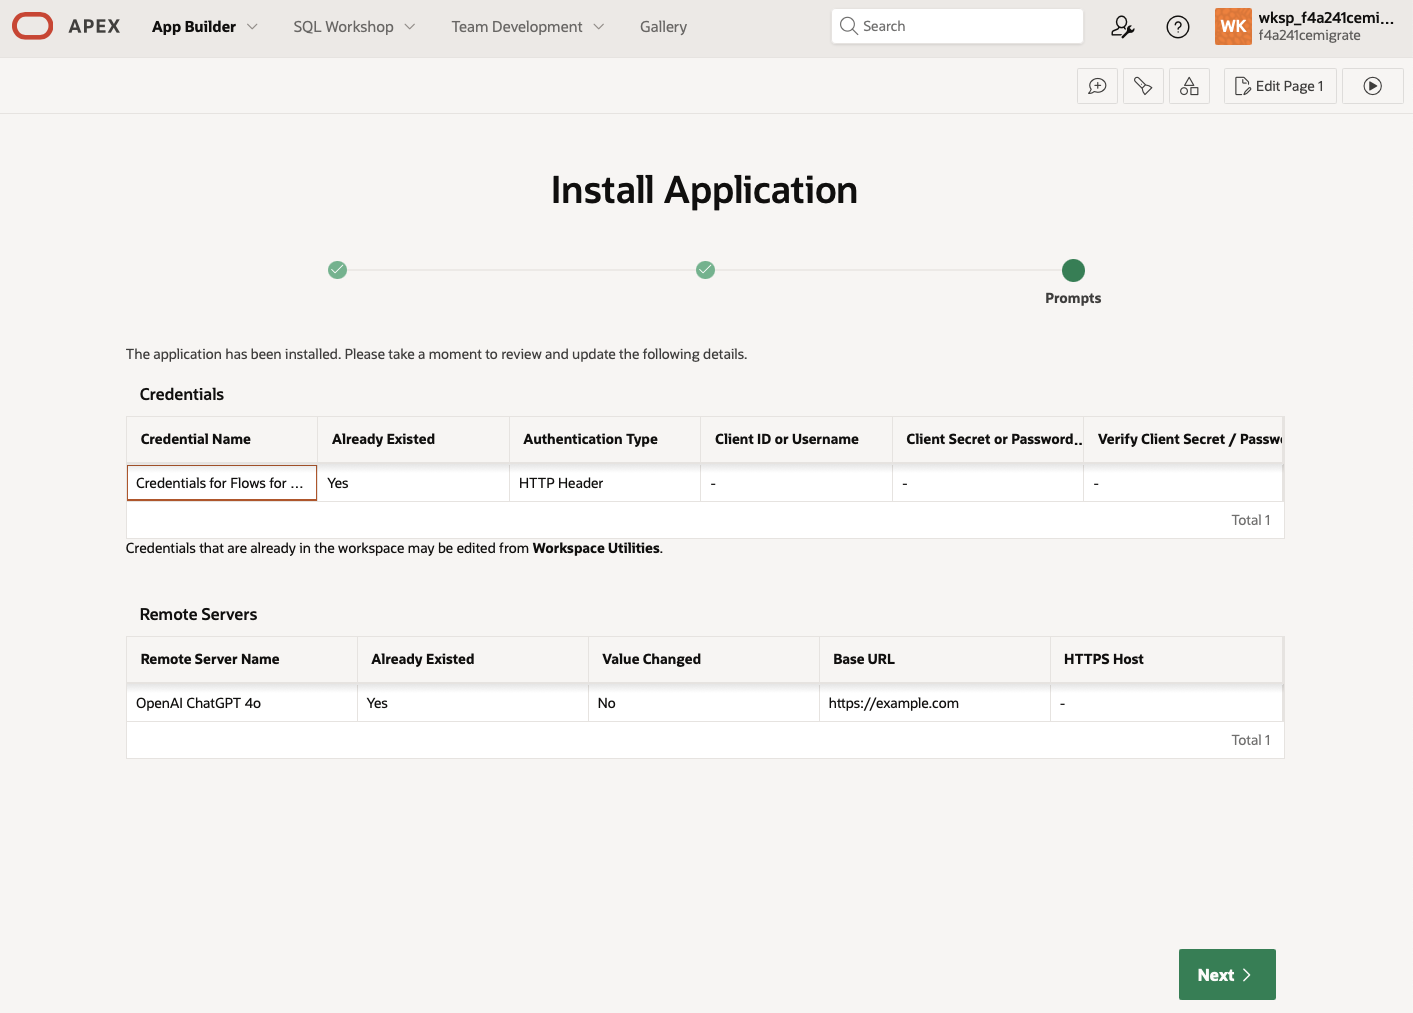
After installation, the installer is likely to report that it installed a credential and a remote server for AI. The installation creates a remote server for the Flows for APEX AI Service. If the AI service does not exist, these are placeholder services that can be edited later in APEX through the Application Builder Workspace Utilities. The Credential that is created is also a placeholder than can be edited later if you want to use the AI service. Click Next.
-
you will be asked if you want to install the Supporting Objects. Enable the switch and click on “Next”. A confirmation page will be loaded, confirm the installation by clicking on the “Next” button.
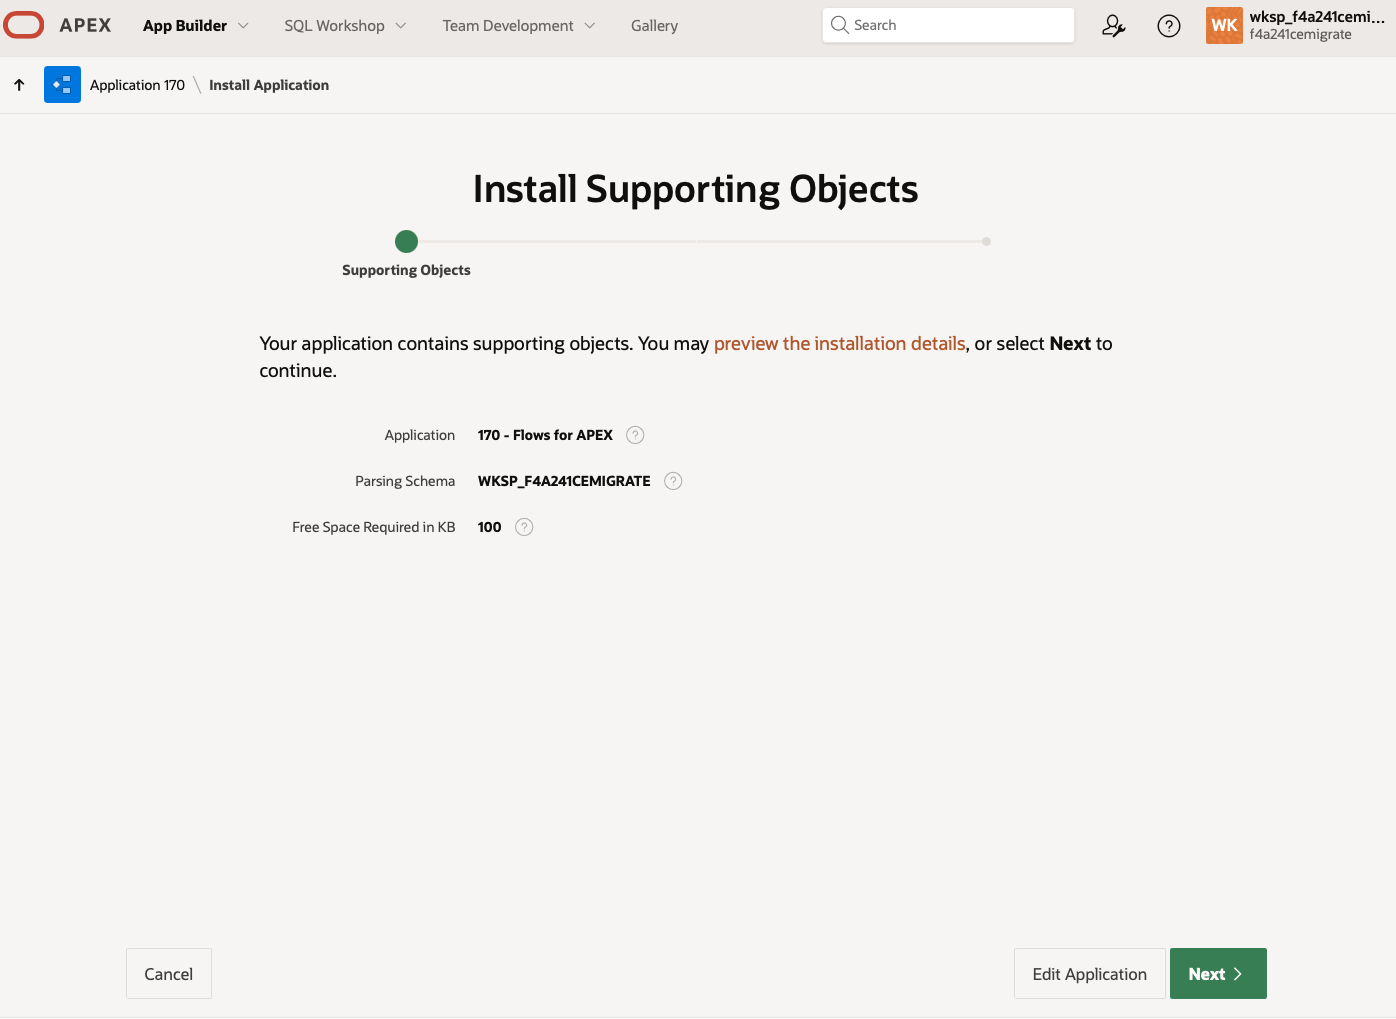
-
Installation of Supporting Objects starts by checking that your schema has all of the required privileges. Click on Install to proceed.
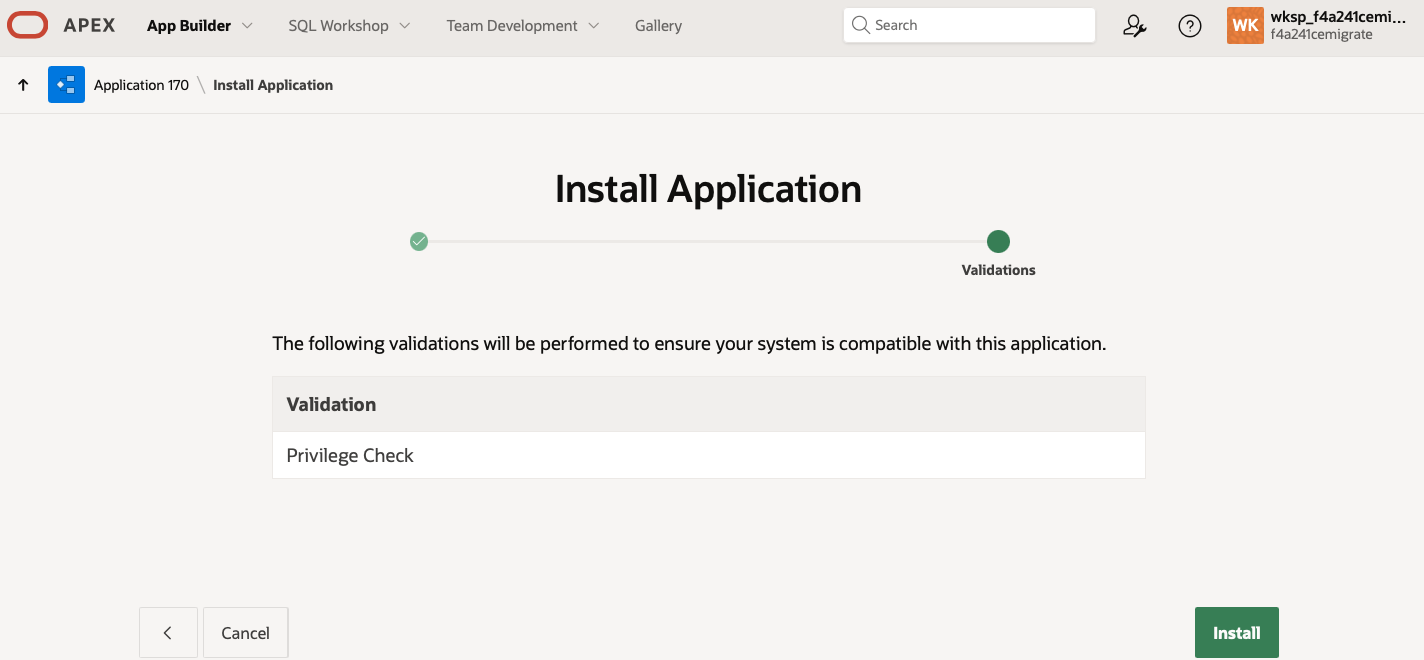
-
If you are running on APEX v24.2 or later: In the Application Buider, open the Flows for APEX application that you have just installed, and upgrade the Universal Theme version for the app. There should be a highlighted message at the top of the Application Buider screen telling you to do this. It is IMPORTANT that you do this BEFORE publishing any translated versions of the application (due to an APEX issue).
Note: You MUST upgrade the Universal Theme in the Flows for APEX application prior to installing any translations.
-
If you want to deploy Flows for APEX in additional languages other than English (en), in Application Buider, go to Shared Components » Translations. Select any languages that you want to make available then click Seed. When that is complete, re-select those languages and click Publish. (This step was performed for you by the installer in earlier versions of Flows for APEX. Due to an issue in APEX 26.1, it has been changed to a manual process for Flows for APEX v26.1).
-
After installation, you can click on the “Run Application” button to log into the Flows for APEX application and start building flows.
Installation with SQLcl
For Windows users, please make sure to set NLS_LANG value correctly by running set NLS_LANG=AMERICAN_AMERICA.UTF8 before using SQLcl.
- Get the full distribution content downloading the release source code: zip or tar.gz.
- Connect to you Oracle schema with SQLcl, make sure you are located into the distribution folder.
- Run the installation script, it will create the database objects and import the application.
SQL> @src/install_all_scratch.sql
- Provide the Workspace Name, Parsing Schema, Application Alias and Application Name.
>> Please enter needed Variables
Enter Workspace Name: [FLOWS4APEX] FLOWS4APEX
Enter Parsing Schema: [FLOWS4APEX] FLOWS4APEX
Enter Application Alias: [FLOWS4APEX] FLOWS4APEX
Enter Application Name: [Flows for APEX] Flows for APEX
- At the end of the installation, you should see the confirmation that the product have been correctly installed. You can connect to your Oracle APEX builder and run the Flows for APEX application. You will also see the following (or similar) warnings from APEX that it has installed a credential and a remote server for the AI service. These are installed as placeholders and do not contain any security relevant information. If you are going to use the Flows for APEX AI features, you should set up both the remote service and the credential using relevant information. These are set in the APEX Application Builder » Workspace Utilities.
--------------------------------------------------------------------------------
WARNING for credential "credentials_for_flows_for_apex_ai_service" (Static ID):

- Oracle APEX export files do not contain credential information.
- Use the APEX_CREDENTIAL.SET_PERSISTENT_CREDENTIAL procedure to set the
- credentials after the application has been imported. The credential is being
- referenced with its static ID "credentials_for_flows_for_apex_ai_service"
--------------------------------------------------------------------------------

--------------------------------------------------------------------------------
WARNING for remote server "F4A_AI_SERVICE" (Static ID).

- The PROMPT_ON_INSTALL attribute is set to YES.
- No attributes have been provided with APEX_APPLICATION_INSTALL.

Thus, workspace remote server settings remain unchanged.
- Base URL:      https://api.openai.com/v1
- HTTPS Host:
- ORDS Timezone:

Use APEX_APPLICATION_INSTALL.SET_REMOTE_SERVER to change attributes.
--------------------------------------------------------------------------------
... elapsed: 124.15 sec

...done

>> Finished Installation of Flows4APEX
>> ====================================
Post Installation Tasks
Post Installation Task 1: Upgrade the APEX Universal Theme
We build Flows for APEX v26.1 on APEX 24.1, so that it can run on APEX versions 24.1 and higher. If you are using APEX v24.2 or higher, you must open the Flows for APEX application in the APEX Application Builder, and Upgrade the Universal Theme to the latest available version.
You MUST upgrade the Universal Theme BEFORE applying any translations.
Post Installation Task 2: Seed and Publish any Translations Required. 🆕
If you want to deploy Flows for APEX in additional languages other than English (en), in Application Buider, go to Shared Components » Translations. Select any languages that you want to make available then click Seed. When that is complete, re-select those languages and click Publish.
This was previously done for you, but due to an APEX 26.1 issue, this is now a manual post-installation task.
Post Installation Task 3: Flows for APEX Configurations
3a. Set Workspace and Default App and User Info
- Start the Flows for APEX Application.
- Open the Configuration page from the menu bar on the right hand side of the top of the screen.
- Select the Engine configurations.
- Set the default Workspace Name
- b. Set a default Application ID, Page ID and default username. The App ID, Page ID, and Username must exist in the specified workspace. These parameters are used to create an APEX session when a Flows for APEX task is started from outside of APEX, for example in a process following a timer event. You can adjust these parameters or remove them before your application goes production if you want.
Note: Without default workspace, app, and user information, some background tasks - such as scripts run by timers and message flow events will not operate correctly after installation.
3b. Set the Monaco Editor Version
- Select the Engine App configurations. 🆕
- Set the Monaco Editor Version. Check that the value in this configuration item matches the version of the Monaco editor shipped with your APEX version. For APEX 24.1, 24.2 and 26.1, you can click on the inline help icon next to the input item - and the pop-up help shows the version shipped with your APEX release. If your APEX version number is not in the inline help, refer to the Oracle APEX documentation for your APEX version - Try searching for JavaScript Library Upgrades in the APEX Release Notes. (We changed our distribution to use the version shipped in APEX by Oracle to reduce distribution size and application size).
Note: If you have the wrong Monaco version set, you will receive a nasty error when trying to open the Flows for APEX Flow Modeler. You will also need to keep this configuration parameter current should you subsequently update your APEX version - see Upgrading your APEX Environment.
Post Installation Task 4: Additional step to install REST-API
4a. Register schema with ORDS
You schema needs to be registered with ORDS by using the “RESTful Services” page in APEX or using the API-package “ORDS” (ORDS.ENABLE_SCHEMA)
4b. Install API module
We provide a SQL script to install the API module, roles and privileges. It can be downloaded from our Github-Release-Page (Filename “REST_v1.sql”): https://github.com/flowsforapex/apex-flowsforapex/releases/latest/
Attention: Do not use “Import” Function on the APEX RESTful Services-Page.
4c. Set Base-URL and Log-Status (Optional)
- Start the Flows for APEX Application.
- Open the Configuration page from the menu bar on the right hand side of the top of the screen.
- Open REST-Configuration subpage
- Enter the Base-URL path to your REST-Module (excluding the module “v1”). If no value is provided links populated in the response of the service will be relative paths. Example: https://domain.com/ords/flows4apex/v1 -> Base-URL: https://domain.com/ords/flows4apex
- Choose if incoming REST Calls should be logged in table “flow_rest_event_log”